The issues of upgrading the smartphone’s operating system are of concern not only for beginners but also for experienced Android users trying to adjust the device for themselves. It includes both flashing, installation of side applications, and much more. All pay attention only to visual changes, ignoring the built-in keyboard.
You can not deal with the appearance of the main menu, the performance, and various effects of the phone, but a keyboard is needed by any user. With its help, you can communicate, look for important information on the Internet, and create the necessary notes in a notebook, which greatly simplifies life.
This article will tell you how to change the keyboard and adjust it in your own way.
You may also like: How to fix Android apps close automatically
How to change the ‘native’ settings for yourself.
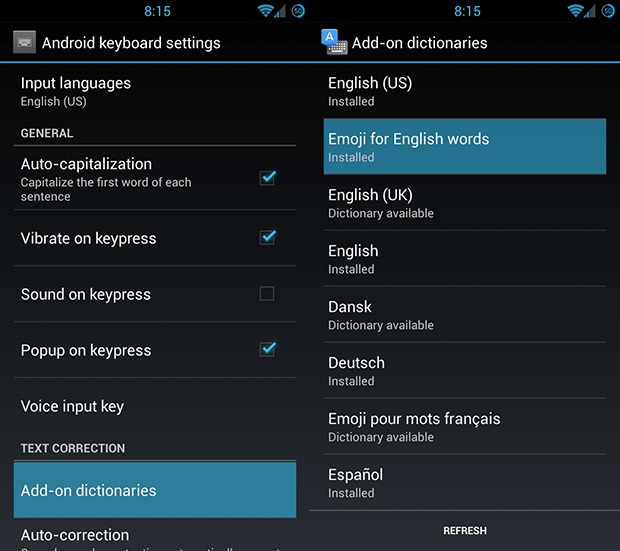
Perhaps you do not need to install a new application if you are only interested in the nuances of its work. Some, for example, are strongly annoyed by the automatic correction of words (function “T9”). In order to eliminate this minor problem, it is not necessary to run on Google Play for a new application. You can rummage through the settings of the old one.
To get started, go to your phone settings. Then find the item called “Language” and click on the gear icon next to the selected option. An extensive list of all sorts of options will open, which will allow you to maximally configure everything for yourself and change the application settings.
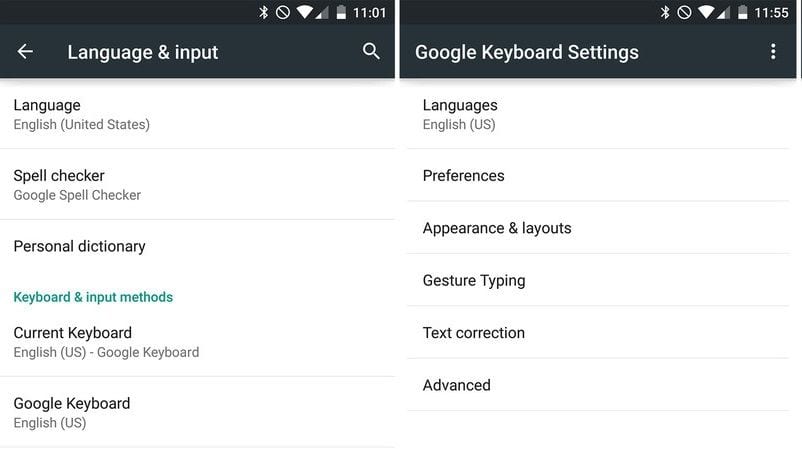
- Change input language and type. Depending on the firmware, there may be 300 languages available or only 3. The most common variants are English and Russian with a QWERTY layout (computer view).
- The anticipation of words. At this point, you can set automatic correction and forecasting, which will greatly simplify the use of the application.
- Automatic punctuation. Set this item if you forget about the points at the end of the sentence: just put two spaces in a row.
- Responses to the touch. In this menu, you can set sound effects and vibration when you press the keys. It is on by default, but there’s someone like it.
If the setting does not help, start looking for the application.
Popular free installation options
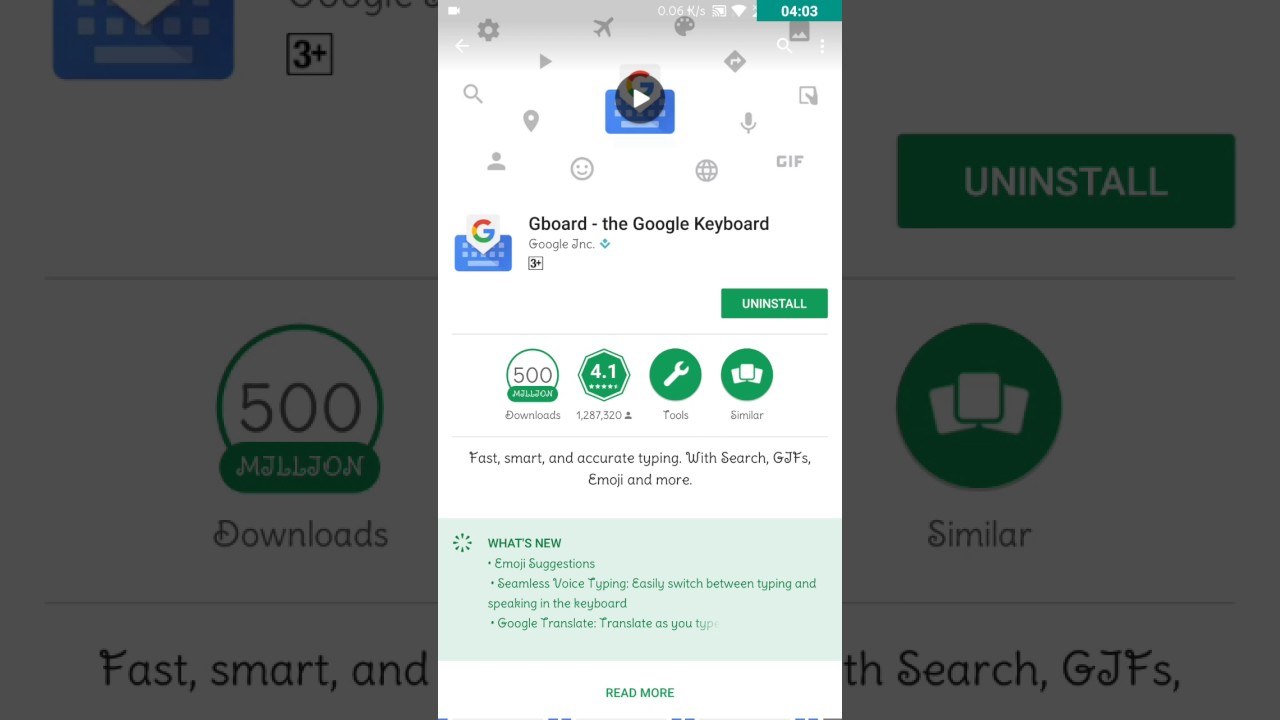
- To begin with, you will need access to the Network. It is recommended that you connect to the nearest Wi-Fi so that the application can download faster.
- Start Google Play (Play Market – older Android models), installed by default on any version of the operating system.
- To gain access, get a new account or log into an existing one. Do not be afraid of long operations: registration in the system takes no more than 5 minutes.
- Go to the search field at the very top of the screen and enter the keyword there.
- Choose the most liked option from the proposed. It is recommended to download one of the very first applications in the list.
Now that everything is installed, you need to make sure that it will function by default. To do this, go to the same settings. In the list of downloaded keyboards, the newly installed application will flaunt, put a tick in front of it. In this case, you can also change the settings according to the instructions in the previous section.
The best application for Android: how to make a practical choice
If you do not want to select a random application from the list, see the special hit-parade of the keyboard for Android, composed by the users themselves. The top five are as follows:
- GO Keyboard.
- Ginger.
- Slide IT.
- TouchPal.
- Fleksy.
On the Internet, there is a huge assortment of all kinds of applications that are customized for any user’s needs. The above guide will help you choose and install the best option, thanks to which you will feel comfortable typing texts even on the smallest screen. Good luck with your work, experiment with pleasure!